- Published on
CS:GO Dedicated Server on AWS EC2
- Authors
- Name
- Faraz Murtaza
- @farazmurtaza
How to Set Up Your Own CS:GO Dedicated Server on AWS EC2 for Free
CS:GO is a blast to play, especially when you’re in control of the game and its mods with your friends. This guide will walk you through the process of setting up a CS:GO Dedicated Server on an AWS EC2 instance, and the best part is—it’s free!
Step 1: Setting Up an AWS EC2 Instance
Start by creating an account on AWS. Once that’s done, head to your AWS Management Console and create a new EC2 instance.
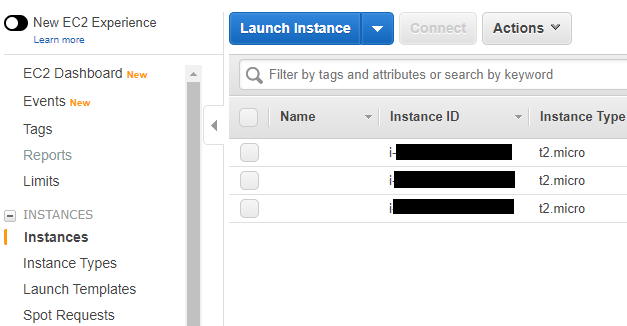
From the sidebar, go to EC2 Instances and click the Launch Instance button.
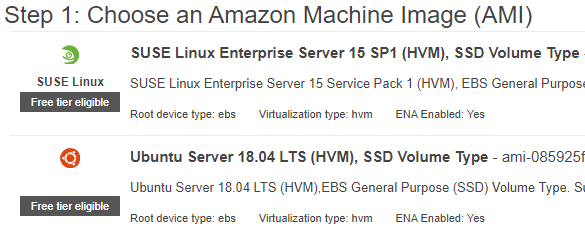
Next, you’ll choose the Amazon Machine Image (AMI). Any free-tier eligible AMI should work, but for this guide, I went with Ubuntu Server 18.04.
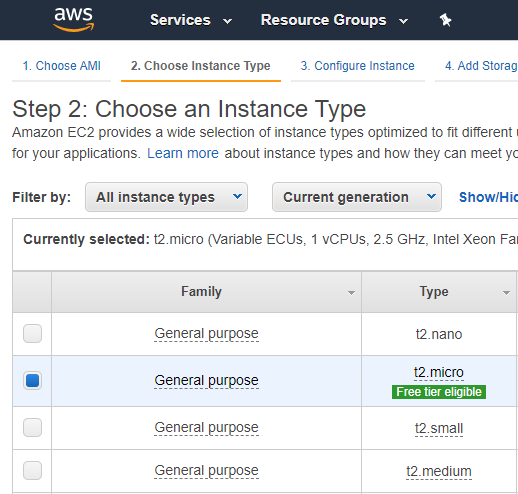
Now click Next to choose the instance type. Select t2.micro as it’s free-tier eligible.
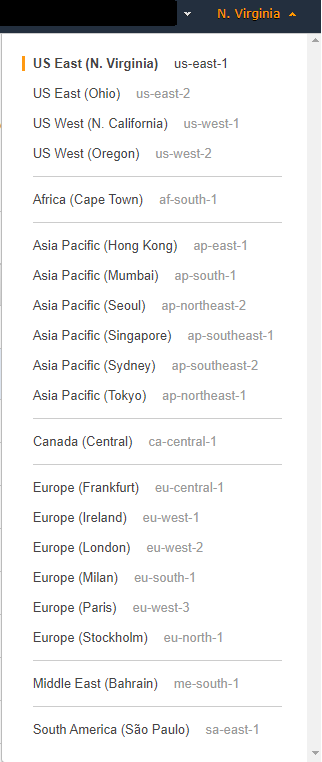
Choose a region that’s closest to your location for the lowest possible ping when gaming.
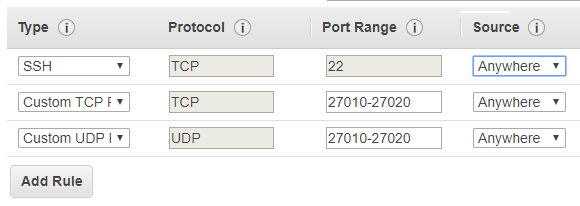
Next, configure security settings. You’ll need to open TCP/UDP Port Range 27010-27020 for CS:GO. Also, open Port 22 to SSH into your server later. You can either set the source to your own IP address or to Anywhere.
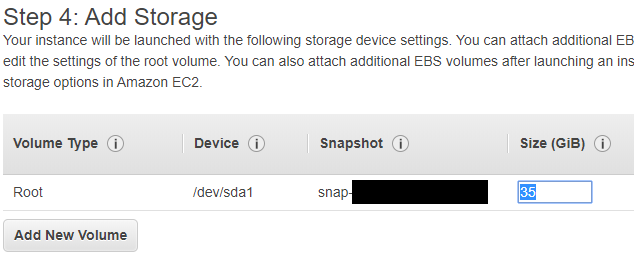
Move to the Add Storage tab and increase the size to 35GB, as the CS:GO server requires around 25-30GB.
Create a new key pair to SSH into your instance later. Download and store it securely.
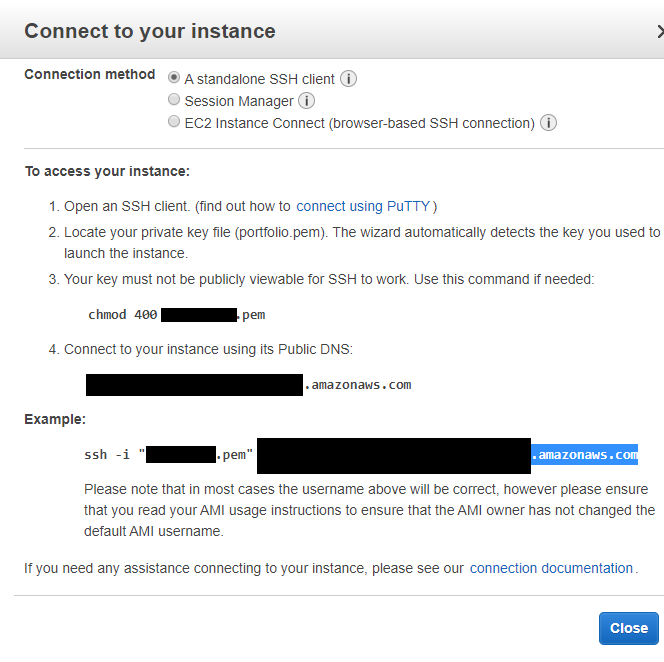
Once your instance is launched, click on the instance and hit Connect. Copy your Public DNS for later.
Step 2: Install PuTTY
If you’re using Windows, you’ll need an SSH client like PuTTY. Download PuTTY and install it.
Before you can log in, convert the .pem file you downloaded into a .ppk file using PuTTYgen, a utility that comes with PuTTY.
Step 3: SSH Into the Instance
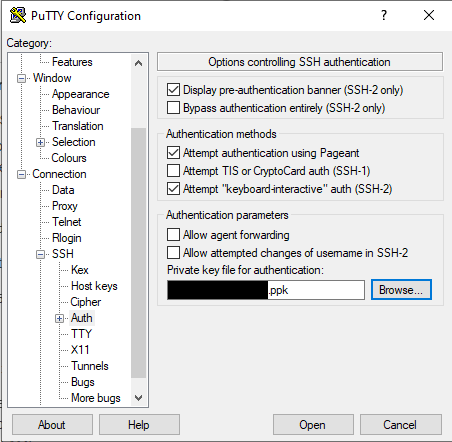
Open PuTTY and paste your Public DNS into the hostname field. Use Port 22. Then navigate to Connection > SSH > Auth and browse for the .ppk file you created earlier. You’re ready to SSH into your instance.
Once you’re logged in, type sudo su to switch to the root user.
Step 4: Install the Dedicated CS:GO Server
First, create a new user for the CS:GO server:
adduser csgoserver
Grant this user sudo privileges:
adduser csgoserver sudo
Switch to the new user:
su - csgoserver
cd /home/csgoserver/
Now, create a Gameserver Login Token (GSLT) from Steam. The App ID for CS:GO is 730.

Install the necessary dependencies:
sudo dpkg --add-architecture i386; sudo apt update;
sudo apt install mailutils postfix curl wget file bzip2 gzip unzip bsdmainutils python util-linux ca-certificates binutils bc tmux lib32gcc1 libstdc++6 libstdc++6:i386
Now, download and set up the LinuxGSM script:
wget https://linuxgsm.com/dl/linuxgsm.sh && chmod +x linuxgsm.sh && bash linuxgsm.sh csgoserver
Once the script is set, run the installation:
./csgoserver install
Enter your GSLT token when prompted.

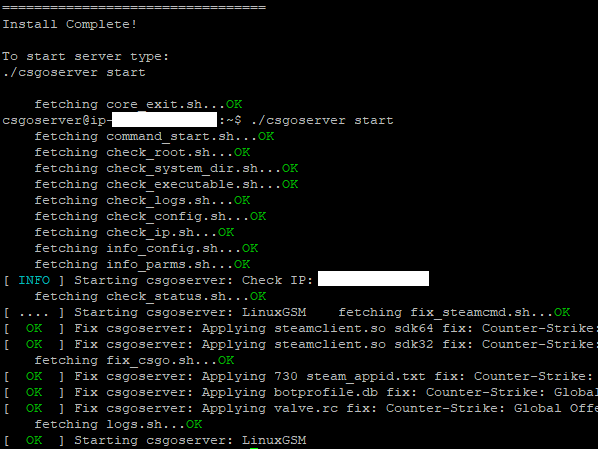
Finally, start the server with:
./csgoserver start
Step 5: Run the Game and Connect to Your Server
Now, head over to CS:GO. Open the in-game console and type:
connect [IP:Port]
This will connect you to your very own CS:GO dedicated server.

Enjoy Your Game!
Feel free to invite your friends and have an awesome time playing CS:GO on your very own server!
HAVE FUN!!!!